Micura Cmm
Zeiss Micura CMM
Our ZEISS MICURA is located in our ISO Class 5 clean room held to a nominal temperature of 20.00°C +/- 0.25°C and 50.0% +/- 5.0% relative humidity. Particulate is controlled using 2 zones of HEPA filters. Parts enter the inspection lab through our acclimatization chamber which allows for components to reach inspection temperature before entering the room.
Additionally a workpiece temperature sensor allows compensation of workpiece temperature variation from ambient.
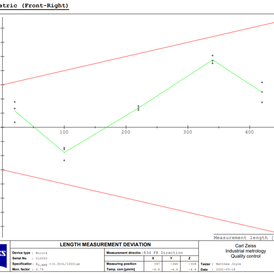
All this combined with careful calibration and this machine has achieved certification to the XENOS CMM standard making it the most accurate CMM in Canada and joins the group of CMMs battling for the title of the most accurate CMM in the world.
Features:
Accuracy: Calibrated to the XENOS standard of 0.3 + L/400 μm
Smallest stylus diameter: 0.3mm
Travel: X, Y, Z (500, 500, 500)
Ceramic guideways and a large bearing base minimize susceptibility to external influences
Computer-Aided Accuracy (CAA) - Measuring errors due to dynamically induced inertia effects are automatically compensated for greater accuracy


.png)
